Fork the following repo…
Solution
-
Navigate to https://github.com/burkeholland/i-love-lamp
-
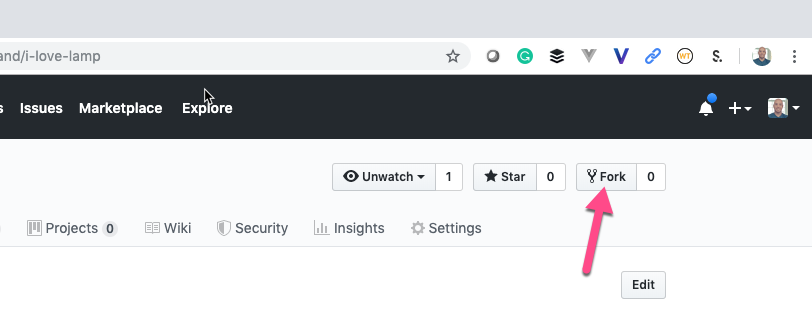
Click the "Fork" button in the upper right-hand corner

Clone the repo that you forked using VS Code
Solution
-
Find the repo URL on Github by expanding the "Clone or download" button

-
Open the Command Palette in VS Code (Ctrl / Cmd + Shift + P)
-
Type "Clone"
-
Select "Git: Clone"
-
Paste in the repo URL
-
Select the "start" folder as the location
-
Project will be cloned into a sub-folder called "i-love-lamp"
-
Select "Open in New Window" when VS Code prompts


The most common workflow for Github in VS Code, is to make changes to a file, stage those chages, commit them and then push to the upstream repository.
Change the description meta tag in the index.html file. Stage the changes and then commit them to your repository.
Solution
-
Modify the description metatag in the
index.htmlfile -
Notice the blue gutter mark that VS Code uses to denote a pending change

-
Click on the blue rectangle and expand the change. Notice that you can undo the change directly from this view
-
Open the Git sidebar explorer (Ctrl / Cmd + Shift + G)
-
Click the + sign next to the
index.htmlfile to stage it
-
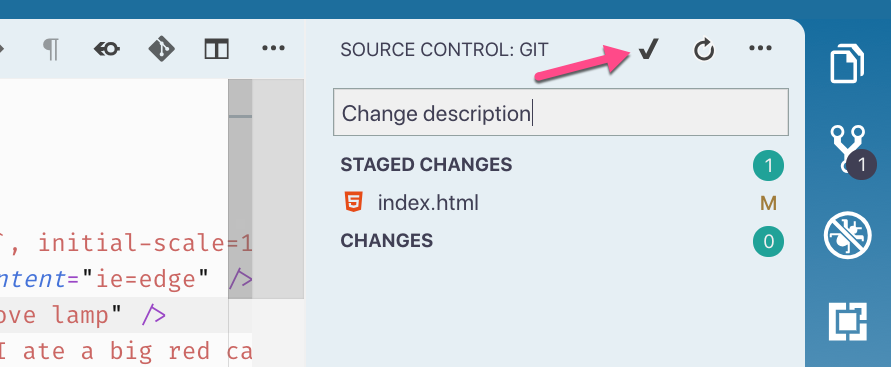
Add a message to the commit box
-
Press the checkmark to commit the changes
-
Push the changes using the status bar button


Create a new branch using VS Code, make a change to the description meta tag in the index.html file and commit those to the new branch.
Solution
-
Click on the "master" branch button in the status bar

-
Select "Create new branch"

-
Name it "new_branch"
-
Modify the description meta tag in the
index.htmlfile. -
Stage the changes
-
Commit the changes
-
Publish the branch by click on the publish button in the status bar


Change the "description" metatag in the master branch and then merge in the "new_branch". Delete the "new_branch".
Solution
-
Switch back to the "master" branch using the branch switcher in the status bar
-
Change both the "description" and "og:description" meta tags to "I love lamp"
-
Stage the changes
-
Commit the changes
-
Open the Command Palette (Ctrl / Cmd + Shift + P)
-
Type "merge"
-
Select "Git: Merge Branch"

-
VS Code will warn that there are merge conflicts
-
View the merge conflicts on the
index.htmlfile -
Accept the incoming changes

-
Commit the index file
-
Push to the upstream repository

